I wrote recently about being selected for a Creative Glass Center of America Fellowship, but thought it was about time to show off some experimental castings I made there last fall that helped get me the fellowship. Last Summer I blogged a first test of this process, but this Fall I was able to do some more substantial castings and learn some more. Here’s some process shots:
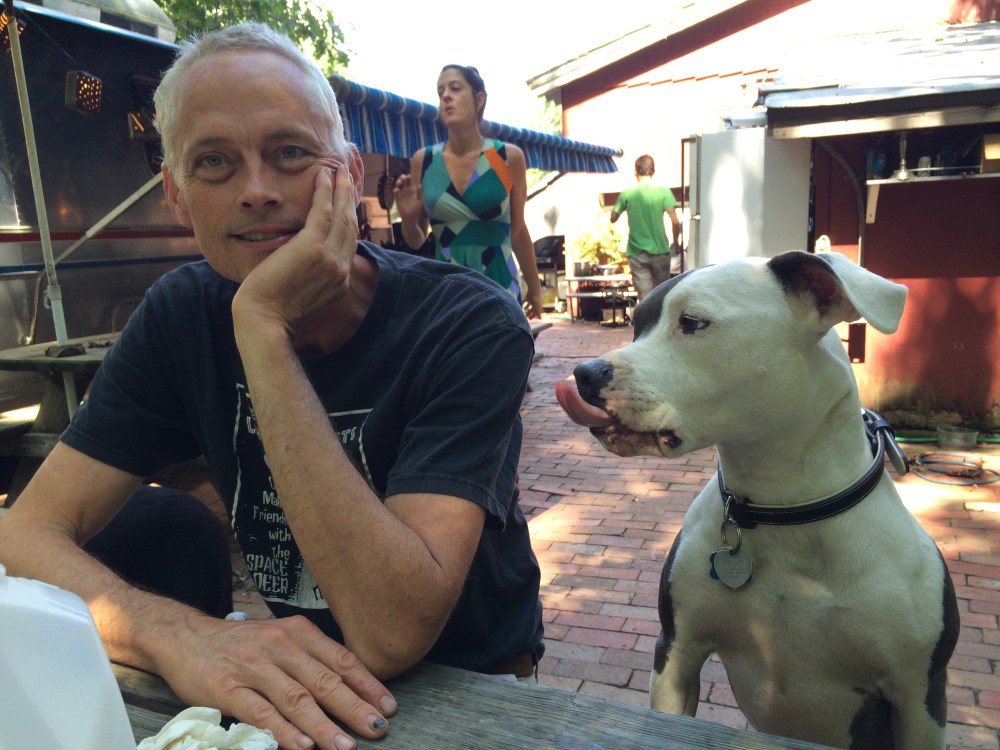
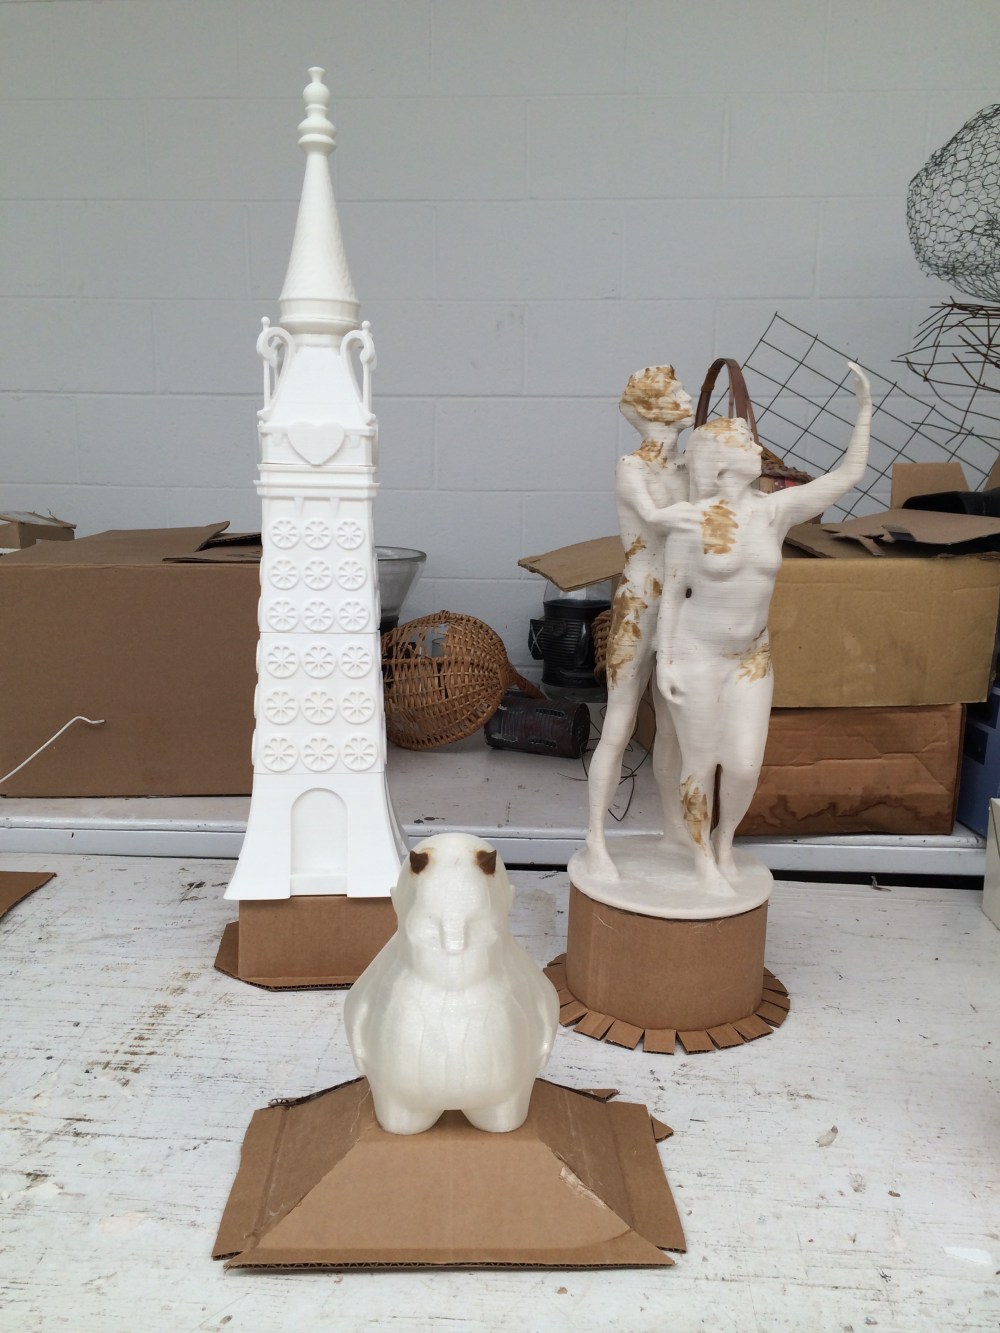
Wheaton Arts is home to the Creative Glass Center of America in Millville, NJ. It lives in this building, a recreation of a 19th century glass factory.Hank Adams is the Creative Director of CGCA and he does an amazing job running a world class glass shop. Boola just likes eating scraps and thinks she’s a person.While at Wheaton, I got to stay in this lovely vintage Airstream Trailer!These were my two successful casts. This slideshow will walk you through the process of creating them and attempt to share my learnings from the experience.I started with 3D prints. This is Makerbot’s artist figurine Zee, which was given to me by Rob Steiner at Bold Machines. I customized Zee with some devil horns made out of wax.Altogether, I had three 3D Printed PLA pieces to cast- A 24″ tall Luna Park Tower (printed in sections), Mat Fraser and Julie Atlas Muz 18″ tall figure (printed on Makerbot’s Z-18 printer), and the Zee figurine. I used some cardboard and hot glue to piece together a reservoir for each print before going to make molds. I also used some brown wax to smooth some rough areas of the prints.It was a beautiful day in the shade of the Studio’s smokestack.I made some small sprues as air vents for the fine details on the tower.I also cut wire mesh to reinforce the molds with.I just used a cardboard box for a form for Zee. The bigger molds used tar paper as a form to cast the plaster around the 3D prints.The classic mold material is a 50-50 mix of plaster and silica, with wire lath as something to strengthen it. I did a first coat a little wet as a splash coat to make sure I really have the whole surface.The mold is filled with mix and sets up.Because of the plaster and silica, a mask is very important!It was a very long day of mixing plaster in 5 gallon buckets. The big molds were extremely heavy so I set them by the furnace to dry out some. I was sore that night!They were so heavy that we had to tie them onto the fork lift to lower them in the oven!Hank is an expert with the fork lift!The oven they gave me was about 3 feet deep, so we gently lowered the molds in.Here you can see the bottoms of the 3d prints in the molds. The next step is to burn them out overnight.There’s the bottom of the Zee figurine.Overnight, the oven went up to 1000 degrees, then back down. It was about 24 hours of waiting until I could open the oven, but the molds burned out very nicely.The PLA burned out extremely cleanly. You can see there are some cracks in the molds as the PLA does expand and contract some as it heats. For the future, I will print with less infill and play with some other mold material formulas to try to minimize this cracking.We lost some mold material between Zee’s legs, but the mold burned out very cleanly.The molds were packed with cullet- chunks of the glass they use at Wheaton. Its a Spruce Pine soda lime glass. It would be nice to do some castings with optical crystal, but these were just tests so I was focused on what was available and cheap.The GB4 computer is the standard oven controller computer and has been for over 30 years in the glass and ceramic world. I would LOVE to see someone make an internet connected Arduino oven controller with a mobile phone web interface. These things are archaic! If you’re an Arduino Hacker interested in exploring this, please contact me! I have given this much thought and would like to work on bringing glass studios into the 21st century.Because of the mass of the molds, they have to be slowly heated and cooled. It took another 12 hours or so to bring the molds back up and begin to melt the glass.We first brought the oven to about 1200F and as the glass melted down in the molds I kept adding more chunks in.One design flaw with these molds was that they were so deep. It would be more ideal if the molds were shallower and the glass did not have to flow down so far. I ended up bringing the ovens up even hotter in an attempt to get the glass to flow all the way in.It was freakin’ hot in there!Finally, the glass stopped flowing and I knew the molds were full.The kilns need to be vented to crash them down to annealing temperature as fast as possible, otherwise the glass can “scorch” and devitrify, causing it to have a more milky appearance.I just turned off the oven and left it open for a few minutes at a time. The goal is to let all that heat dissipate and bring it back to ~960 asap. The problem was there was so much mass in those molds and the refractory brick holds the heat. It was a couple hours of venting before I could start the annealing cycle on the computer.The pieces took about ten days to cool down. Annealing glass involves soaking it at particular strain points to even out the temperature, then slowly cooling it down to room temp. I left and returned in two weeks to find this.The molds were so heavy (and by now fragile) that I just divested them right in the oven.Luna Park Tower.. in glass!I was slightly nervous the oven might close on me- that thing was deep!A couple process shots of divesting Zee.The mold material bloke off pretty easily.revealing what’s underneath…Devil Zee!I used a diamond saw to cut off the reservoirThe final Zee.Luna Park tower required a lot of picking and scrubbing to get all the mold material off. I also had to be careful not to clog the sink.Both final castings. I have a couple parts that broke off on the Luna Park Tower that I’d like to glue back on. but overall a good first experiment. Above you can see Mat and Julie’s legs- they proved to be to skinny for the glass to flow into.
So what did I learn?
First, the work I will make in my fellowship will be shallower castings 9-12″deep at the most. I will be making relief panels cast from 12x12x12″ 3d printed sections. I think these high relief castings will be easier to produce and yield better results. Though I like the jade-like appearance of the glass in these, I would prefer more of a translucent glass appearance for my final product. The shallower molds will be easier to cast and cool so as to avoid devitrification. I also will do some more experiments with other mold formulas. Perhaps some other mold materials will crack less as the PLA expands during burnout. Finally, I’d like to explore casting with hot billets of glass as opposed to cold chunks of cullet. Basically, hot casting ingots of molten glass from a furnace so they skin up and stop moving, but are still quite hot when they are dropped into the molds. These ingots are then dropped in the molds and will more easily be heated to flow in. This should also yield a clearer quality to the glass.
So that’s it. I hope you enjoyed. I’m looking forward to using the process to make some work during this year’s fellowship!
4 thoughts on “A Process for Glass Casting from 3D Printed Positives”
I am so jealous! What a fabulous project!!! I’m so glad you had such good results. Have you ever seen the process where glass is blown directly into molds? The pieces pick up the relief but are hollow. I don’t know what the process is called but it’s a way to make vessels like jugs and large containers. Don’t know if that is something you’d like to explore with your 3D forms.
Hi Lisa, yes, that process is called mold blowing. Depending. On the mold material it gives varying amounts of detail, but none result in the level of surface detail we get here. Nice to hear from you and say hi to Bill for me!
I’m so happy for you that you are taking Luna Park in this wonderful direction. Good for you! How is cleaning the glass structures going? What are you using to do it?
Not sure I’m following your question… cleaning glass structures? Soap and water I guess